Air Fryer Maple Doughnuts With Bacon are incredibly easy to make thanks to the refrigerated biscuits used to make them with.
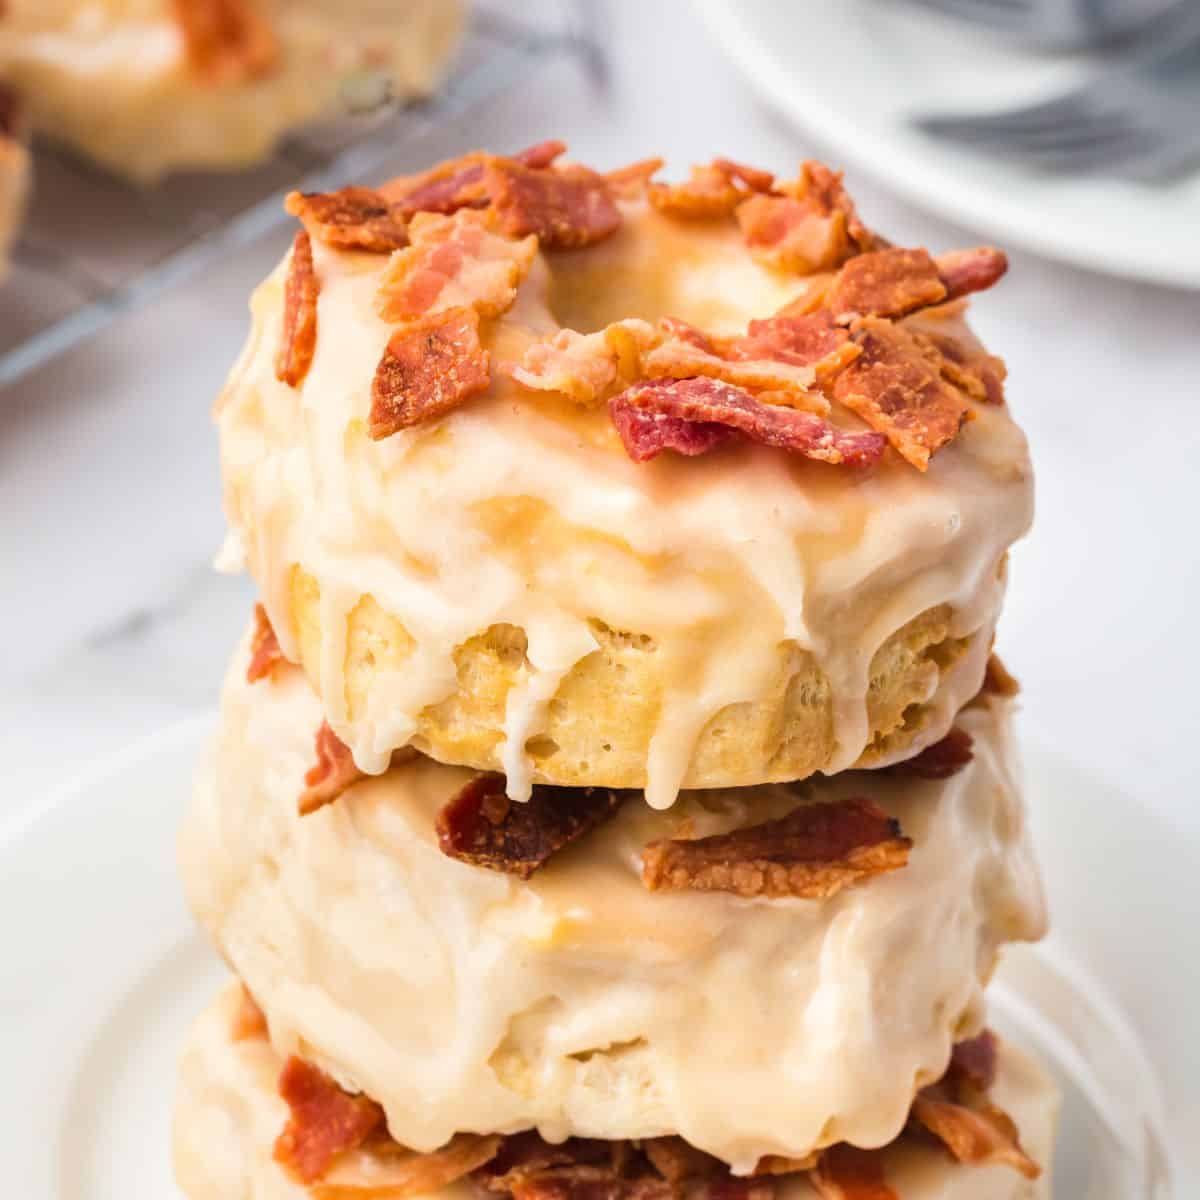
These tasty treats are soft and chewy with a rich sweet flavor of maple syrup.
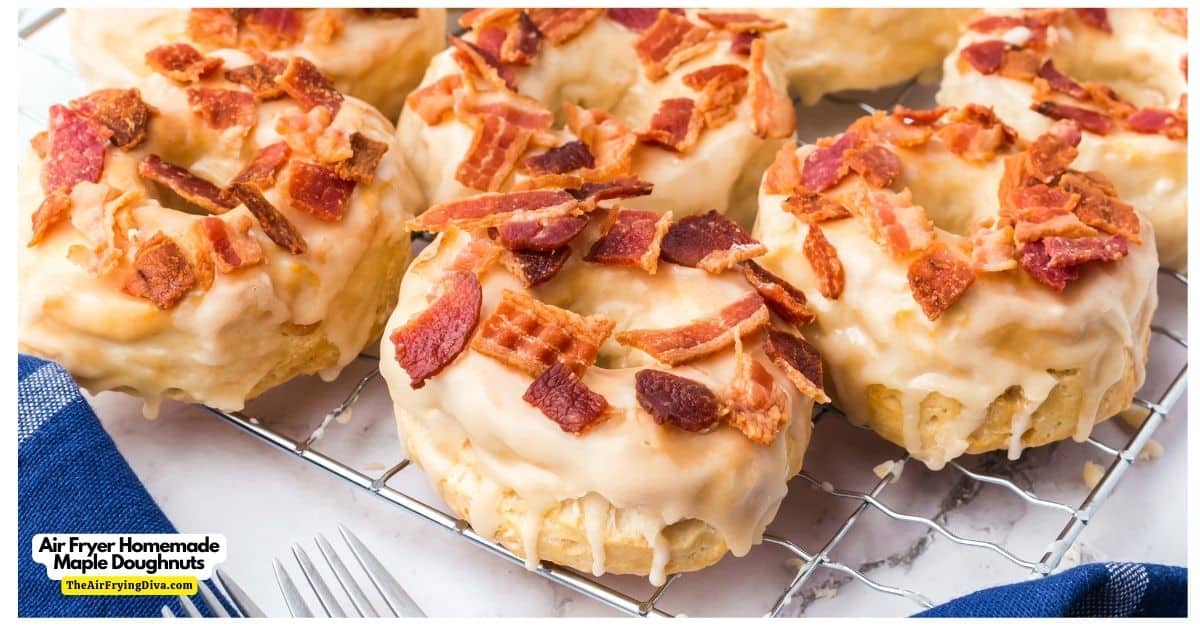
Homemade Maple Bacon Doughnuts.
Both savory and sweet, these simple doughnuts are perfect for breakfast, brunch, or even as a dessert.
I really like the idea of making homemade doughnuts in about 20 minutes without having to fry them in oil.
Did you try my recipe for Air Fried Chocolate Chip Cookies?
Those cookies are another sweet idea that can be made in an air fryer. Both this recipe for doughnuts and that recipe for cookies are especially perfect for anyone looking for a quick and easy treat that can be air fried!
To make this recipe you will need maple extract (something that I have found many tasty uses for!). You can find maple extract here.
Why we like this recipe for maple doughnuts with bacon.
- The ingredients are few and simple.
- Using premade biscuit dough makes this recipe a breeze to make (no rising times etc).
- These doughnuts have less sugar and no oil from frying added to them.
- Using an air fryer is not only a healthier way to make these, it is a quicker and easier to clean up method.
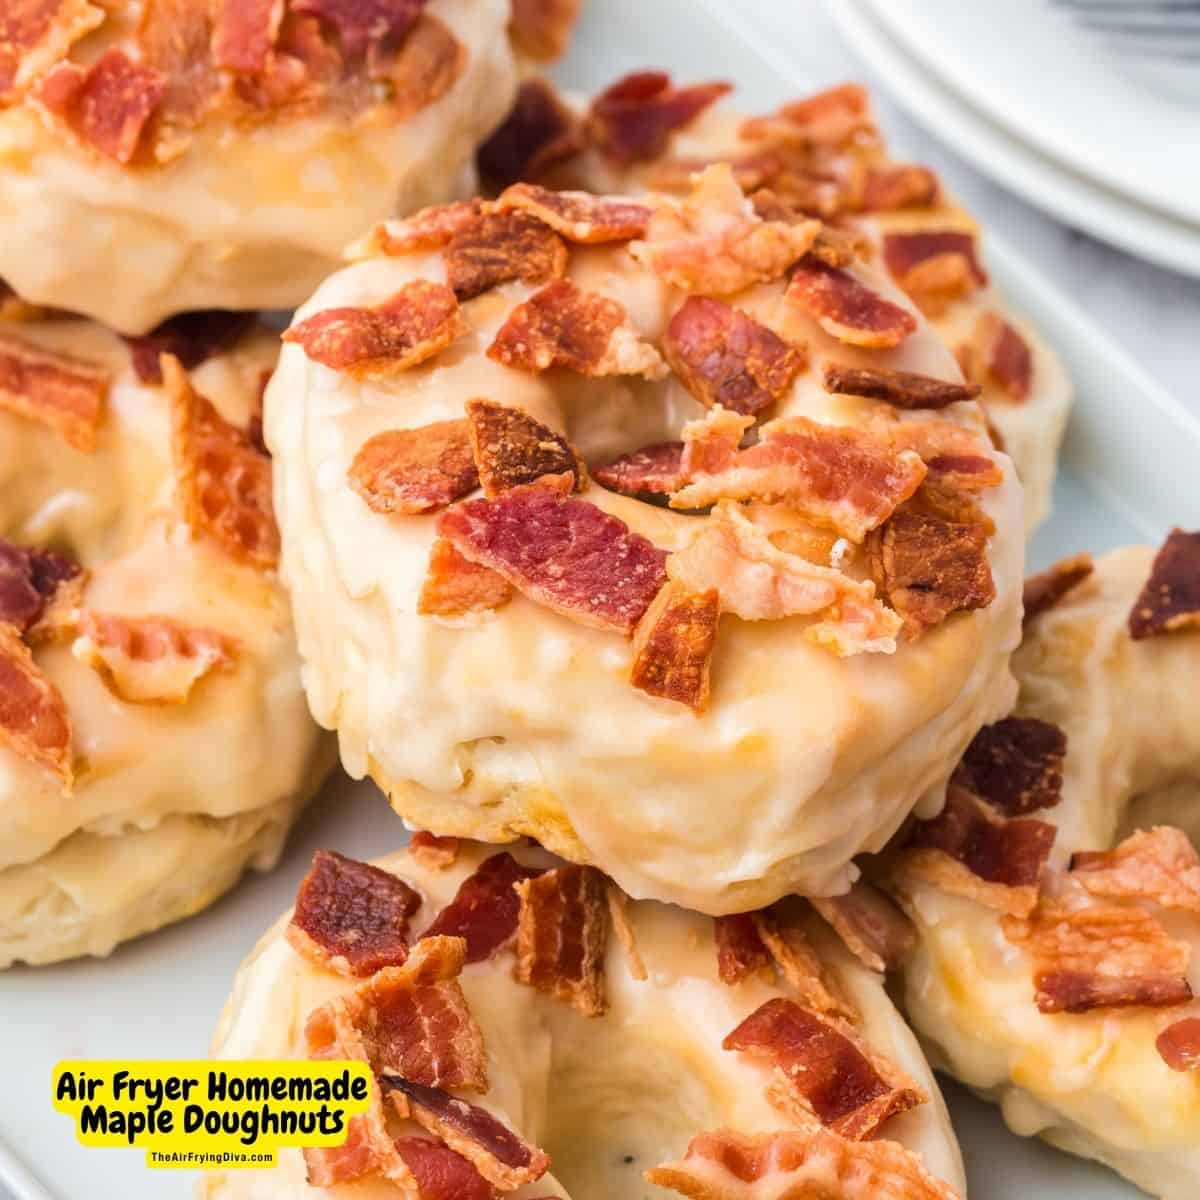
Ingredients needed to make donuts with maple syrup.
- Biscuits. Refrigerated homestyle biscuit dough (the canned stuff) seems to work best.
- Brown Sugar. Used for making the glaze.
- Dark Maple Syrup. Adds the incredible flavor to the glaze.
- Powdered Sugar. This is an essential ingredient in making the glaze.
- Heavy Cream. While you could use milk, heavy cream will hold the glaze together better.
- Maple Extract. Feel free to use vanilla instead for a bit of flavor balance.
- Bacon. You can use any kind of bacon as long as it has been cooked. The crisper the better! Your bacon should be chopped or in pieces.
Tips for making the best maple doughnuts.
My doughnuts were made with 'homestyle' biscuits. If you prefer a more buttery doughnut, you can use a buttermilk style biscuit dough.
More helpful tips for you to make
- The hole is the center of the doughnuts is something that you will need to make. You can use a cookie cutter, apple corer, wine cork, or your finger to punch that hole through the center of each biscuit.
- When making the holes in each of your biscuits, make them larger than you want them to actually be. The whole will 'shrink' when the biscuit is air fried.
- The last thing that I will mention about the doughnut holes (for now..) is that you should not toss the dough that you punched out of the center. That leftover dough can be used to make donut holes or even wrapped around a hot dog to make something else.
- Don't like a sweet glaze on your doughnut? No problem. You can dust the doughnuts with powdered sugar, drizzle melted chocolate over them, or enjoy them with a bit of jam instead.
Subscribe to TheAirFryingDiva!
Equipment that you may need to make this recipe with.
- Air fryer
- Non-stick baking spray
- Medium Mixing bowl
- Whisk
How do you store homemade biscuit doughnuts?
Once your doughnuts have fully cooled, you can store them in an airtight container. If you are storing them in layers, place a sheet or parchment paper between the layers.
Certainly, these doughnuts are best when enjoyed fresh.
However, these doughnuts can be stored in a refrigerator for about a week. Feel free to wrap leftover doughnuts individually to take on the go for breakfast or as a snack.
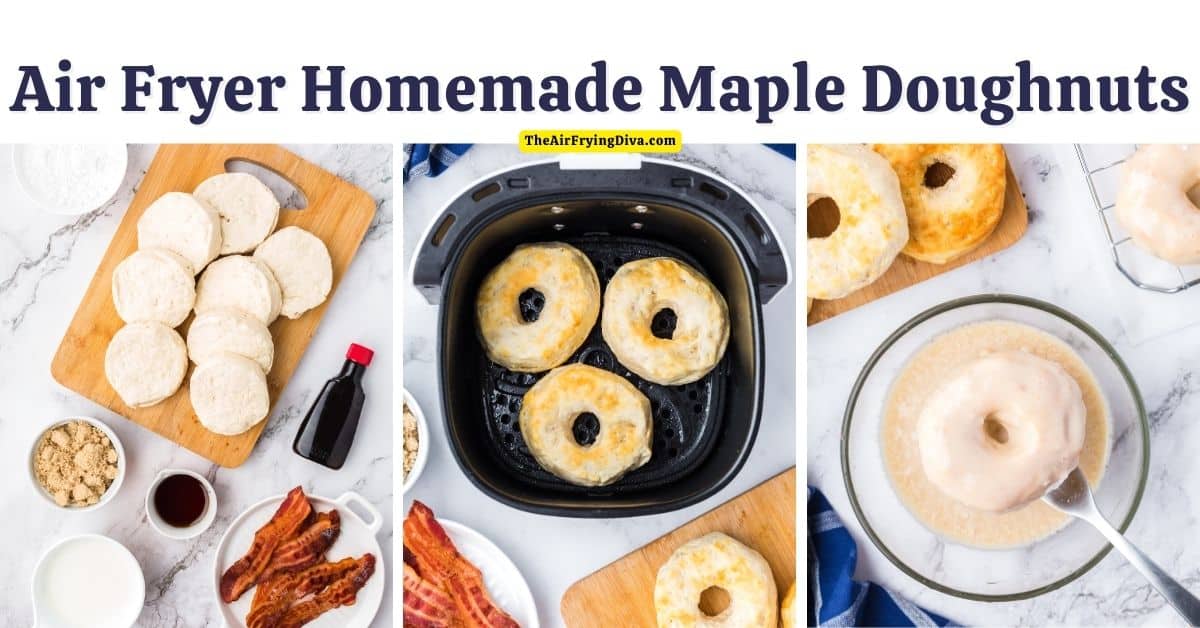
How to make this recipe for maple bacon doughnuts.
Prep Time: 10 minutes
Cooling Time: 10 minutes
Bake/Cook Time: 6 minutes
Total Time: 26 minutes
Serves 8 (1 donut per serving)
- Start by preparing your air fryer for nonstick. Then preheat your air fryer to 340 degrees.
- Open your can of biscuits and lay out the biscuits on a clean surface. Then use an object to punch a hole in the center of each of the biscuits.
- Place the punched biscuits into the basket of your air fryer, leaving enough enough room for the air to circulate.
- Air fry the biscuits for 6 minutes. There is no need to flip them while air frying.
- Meanwhile, you can make the glaze. In a medium mixing bowl, whisk together the brown sugar, maple syrup, powdered sugar, heavy cream, and maple extract. Do this until the ingredients are blended and there are no lumps remaining. Transfer this mixture to a shallow bowl.
- Dip each of the doughnuts into the glaze and then place them on to a wire cooling rack. You can do a second dipping if needed.
- While the glaze is still wet, sprinkle the bacon on top.
Expert Tip👉 Depending on the size of your air fryer, you may need to make these doughnuts in batches.
Everything mentioned in this recipe so far.
The recipe card for this
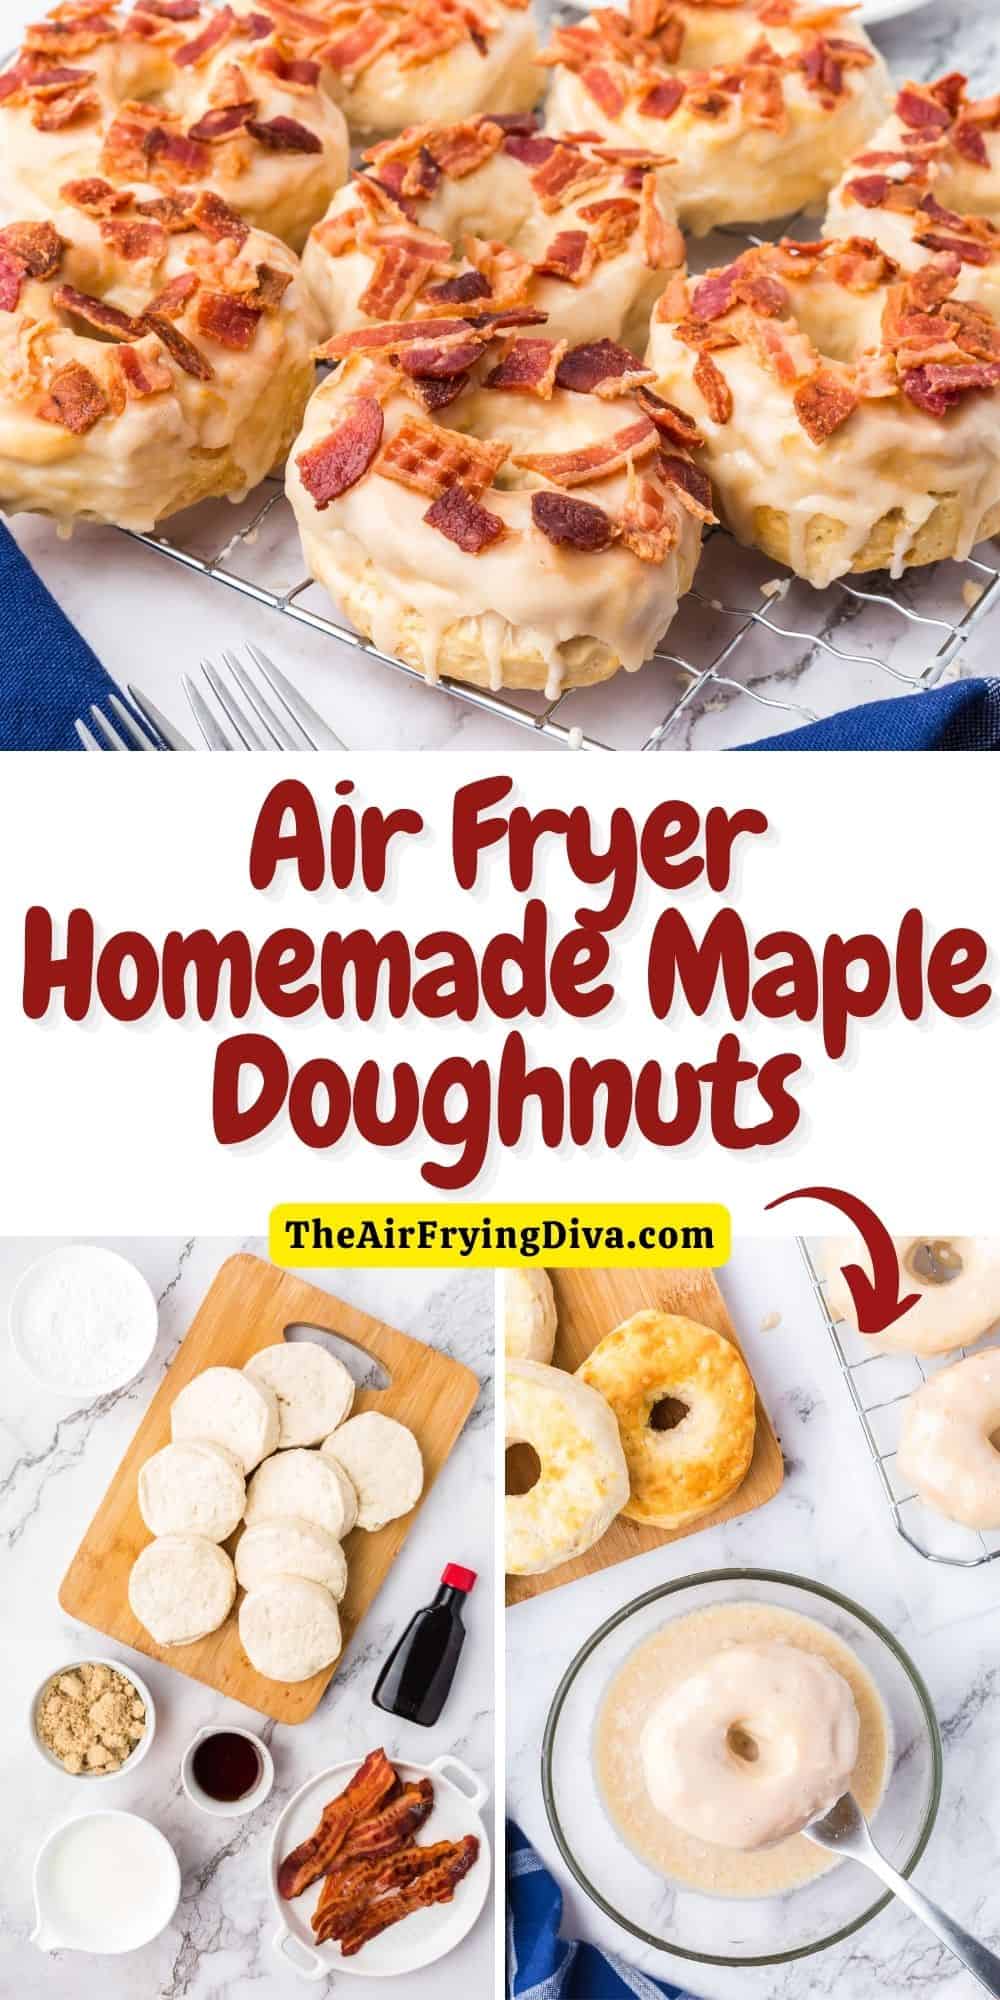
Air Fryer Maple Doughnuts With Bacon, a simple and delicious homemade donut recipe made with biscuit dough and topped with glaze.
Air Fryer Maple Doughnuts With Bacon,
Equipment
Ingredients
- 1 can Refrigerated Biscuits Dough - 8 biscuits
- ½ cup Brown Sugar
- 3 tablespoon Dark Maple Syrup
- 2 cups Powdered Sugar
- 2 tablespoon Heavy Cream
- ½ teaspoon Maple Extract
- 8 slices Bacon - chopped
Instructions
- Start by preparing your air fryer for nonstick. Then preheat your air fryer to 340 degrees.
- Open your can of biscuits and lay out the biscuits on a clean surface. Then use an object to punch a hole in the center of each of the biscuits.
- Place the punched biscuits into the basket of your air fryer, leaving enough enough room for the air to circulate.
- Air fry the biscuits for 6 minutes.
- In a medium mixing bowl, whisk together the brown sugar, maple syrup, powdered sugar, heavy cream, and maple extract. Do this until the ingredients are blended and there are no lumps remaining. Transfer this mixture to a shallow bowl.
- Dip each of the doughnuts into the glaze and then place them on to a wire cooling rack. You can do a second dipping if needed.
- While the glaze is still wet, sprinkle the bacon on top.
Recipe Notes
Also, please see the actual recipe post for further details on this recipe. Nutritional Information is only an estimate and can vary especially with ingredients that are used. See theairfryingdiva.com for details on this recipe.
*As an Amazon Associate I earn from qualifying purchases. This means that the links on this website, and specifically on this post, that lead to other sites may be affiliate links.
Please note: Nutritional data has been calculated using a tool that comes with this recipe card and not by me. This means that Nutritional Information is only an estimate and can vary especially with ingredients that you use. The accuracy of this tool may differ from other tools as expected. Also note that there is no instructional value to the video that may be attached to this recipe. It is only there for visual pleasure. For more information about the images in this recipe, please refer the the recipe instructions. Thank you!
Pin Recipe Share on Facebook

